Friday, October 29, 2010

Munchy Corn Fritters


There's a restaurant in San Francisco, called E and O trading company, it's on Sutter street, between Stockton and Grant, and they make corn fritters.  Or should I say the BEST corn fritters ever?!!??  This is my humble attempt (second try) to replicate them.  Turned out pretty damn good if I do say so myself!

The first batch was oddly doughy and fluffy in a way that distracted from the corn.  Like state fair food.  This batch highlighted the flavor of the corn and the scallions with a crispy crunch from the light batter... delish!!

Stuff you'll need:

  • One bag of corn (I used a 16 oz bag)
  • 6 or 8 scallions roughly chopped
  • pinch of salt
  • several grinds of black pepper (coarse)
  • 3 egg yolks
  • 2 egg whites - whipped to stiff peaks
  • 3+ tablespoons flour

Whip egg whites until soft peaks form (then whip a tiny little bit more) and set aside.
In a large bowl, combine corn, scallions, salt, pepper and 2 of the egg yolks stir until well mixed.  Sprinkle in your flour - adding a little at a time to avoid clumping.

Fold egg whites into corn mix 1/3 at a time - you may not need to use all the egg whites so fully incorporate the mix before adding more.

When finished, your fritter mix should look something like this
The idea is you want just enough batter for the kernels to bind but not so much that it's all batter no veg.

On your stove (unless you happen to have a deep fry machine in which case - we might not be able to be friends or you need to invite me over to use YOUR kitchen...)  heat a pan of flavor neutral oil - I like canola oil.  You'll need about an two inches of oil at the bottom of the pan, enough for the fritter to float.

Carefully scoop batter into the hot oil - about a quarter cup at a time for a large fritter.  As the batter heats it'll spread a little - if you find they come apart like confetti, add a little flour to the mix.

Let it fry for about a min and a half then flip and fry for another 1 1/2 min to two min until they turn golden brown.  Lift out of the oil and place on a paper towel to drain, and repeat until all the batter is used.


Serve with your fav. dipping sauce, here's one version;

  • 1/2 cup of dark soy sauce or bottled tempura sauce
  • 1 tablespoon sriracha sauce
  • splash of mirin
Mix ingredients together and place in a small dish to serve.


I'm a fan of an even simpler version using soy sauce mixed with a little dashi myself.  


Enjoy!!

Wednesday, October 27, 2010

Black Cod with sweet miso marinade


One of my best friends from high school was in town a couple of weeks ago, and she took me to dinner at Nobu on a reservation that was arranged through her sick connections.  Wow.  Those people know how to make food happen, lemme tell you.  We went for the omakase meal, letting the chef decide what to serve us - every single bite was flavorful and unique - not a single wasted bite!

One of their signature dishes is black cod in a miso marinade - now let me be clear, there is NO way I think for a SECOND that I can possible duplicate the dish exactly.  However it did remind me of a version my mom used to make - that I can replicate with some changes owning to the fact that I don't have the sense to ask her how she did it.

I have to admit, I could eat this every day, and really I haven't managed to get it to turn out exactly the way I want to just yet.  I've tried stove top in a cast iron pan, and more recently I tried it in my Foreman Grill which demonstrated to me that I need to replace it as it's now the antithesis of non stick.  Ideally I think this dish needs a toaster oven to come out the way I want it to.  Guess I'll just have to make it again.  Darn.

But for now, here are the basics, remember it takes a couple of days to marinate the fish completely, though you could probably cheat it if you use a little extra sauce when you cook it.  My version is probably a little less sweet than others because I'm trying to minimize carbs so I don't use additional sugar.  You can add a table spoon or two (depending on volume of marinade) if you prefer sweeter flavor.

Stuff you'll need;

  • Black cod filets - skin on
  • Shiro miso (white miso) - about 1/4 cup
  • Mirin - 4 tbsp give or take
  • Dashi broth (water will actually do here, I use dashi because I always have a ton on hand.) have a cup or so on hand, this is what you'll use to liquefy the marinade
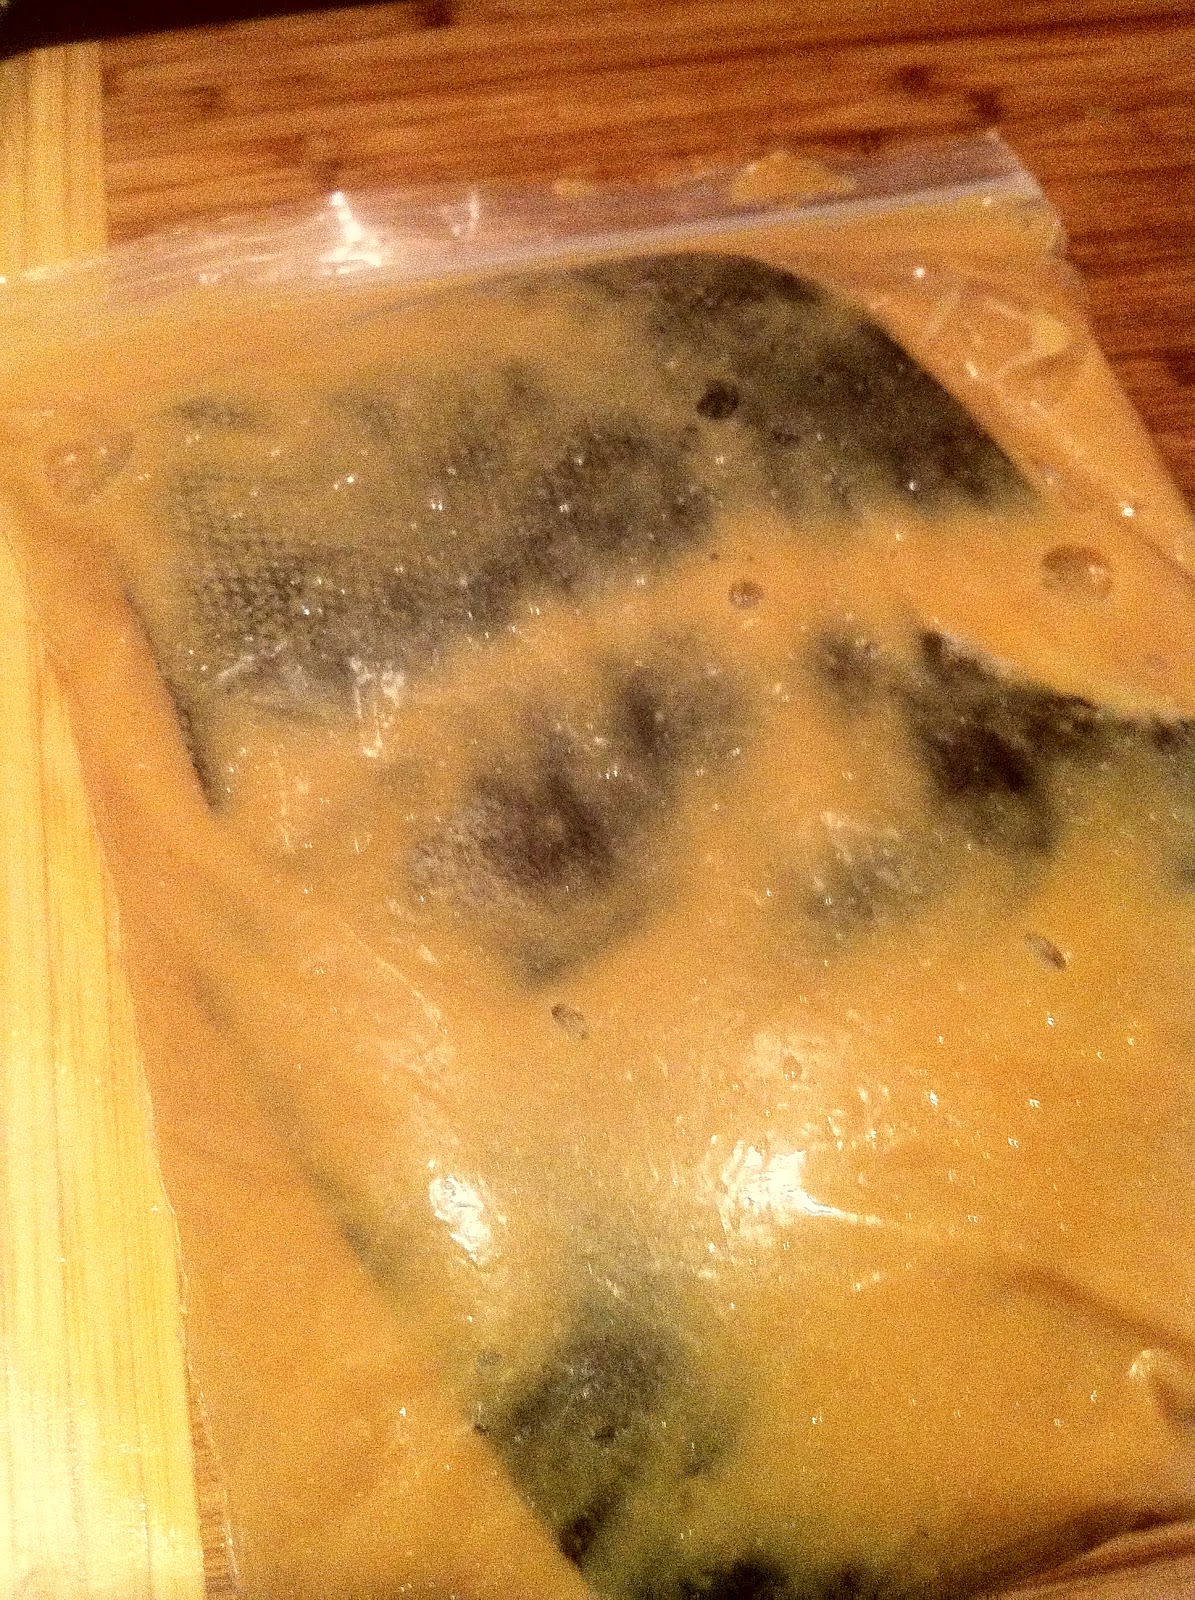
Get yourself a ziplock bag, close to the size of the filets with a little space to spare - the idea is to maximize the contact between the fish and the marinade mix.  Drop the miso paste, and mirin in the bag, and seal it - massage it a bit till the miso breaks up and the mirin is incorporated.  Add the dashi stock little by little (or water) enough to make a viscose marinade.  Add the cod to the bag push out as much extra air as you can and seal.

Now let it sit.  For at least 3 days.

When you're ready to cook pull the cod out of the bag, you might notice some color change, it's fine, that's just the marinade permeating the fillet.

Looks good already doesn't it!  Now, to the cooking.  Here's where I'm still stumbling a bit - I like the skin, specifically, I like the skin to get crunchy and charred a bit - it's salty deliciousness that can't be beat.  If the fish is properly scaled, and cooked well, the skin is often the best part!

However I haven't quite figured out how to cook the fish without the skin sticking to the pan and coming off the fish - could have to do with my aversion to non stick pans, or the fact that my overused Foreman Grill's non stick properties are no longer a viable feature.  C'est la vie, it's still delicious and I have no shame in scraping the charred skin off the surface of the dish, however to serve to company, I'd prefer it to look better so in an ideal world, I'd recommend using a toaster oven for this dish.

Toaster oven directions:
Set toaster oven on broil, line your cooking pan with foil for easy clean up after cooking.
Pop the fish in the toaster oven and let it broil for about 6 to 8 min - a little longer if the fillet is particularly thick.  Let the skin char a bit, it's sooo good that way!

Stove top directions:
Add a little bit of flavor neutral oil (I used canola) to a pre warmed pan on medium/ medium high heat.  Place the fish in the pan skin side down first, for about 2 min, then flip over and allow it to cook through, about 7 minutes a little longer for a thicker fillet.  (note, this method sometimes results in the skin coming off or not enough charring of the skin but it still tastes delicious!)

Which ever route you take, this dish with it's salty miso flavor goes well with green vegetables - broccoli rabe for example, or asparagus, or blanched spinach.   Also, while I'm trying to not eat carbs, this would be fabulous with a robust sticky rice, like Japanese style sticky rice mixed with barley and millet (just throw it all in the rice cooker at once).

Enjoy!

Saturday, October 23, 2010

Five-spice Short Ribs with smashed garlic

Photo by Amy Fletcher for information go to http://www.aefletcher.com/

I love short ribs.  The tender fatty bits of slow braised meat that fall apart in their buttery goodness - what's not to love???  I've also discovered, I have a fondness for 5 spice powder and garlic and my slow cooker and red wine.  So I decided to experiment last night, and the results are what you see above (good thing there's a photo because I don't remember chewing....)

Beef short ribs go well with a few other flavors - onions, garlic and red wine if you're doing a western style preparation, 5 spice powder, sesame oil, soy sauce, garlic and mirin if you're doing an Asian style preparation.  I decided to combine the two and see how it came out - delicious that's how!!  I think this would only have been improved if I'd done a stove top or oven braising but I have DVR programming I wanted to catch up on so crock pot it was.

You're going to need;

  • Short ribs - I've used boneless as well as slabs with bone - either works (short ribs shrink like crazy so eye ball two portions size raw for one portion cooked.)
  • Onion - mine were regular yellow onions, but I bet one of the sweeter varieties would have been good.  I used half - you can use the whole thing if you're a big fan of onions
  • Garlic - I tend to use too much, like 8 cloves, I suggest somewhere around 4
  • Soy sauce - half a cup or so
  • Sesame oil - 1 - TBSp
  • Beef Broth 2 to 3 cups
  • Splash of rice vinegar (or apple cider vinegar)
  • Mirin - about 3 table spoons (more or less to taste)
  • Red wine - I used an inexpensive Cabernet 
  • 5 spice powder - about 3 TBSP. 

I discovered that 5 spice powder varies from one place to another - mine personally has 6 spices in it for crying out loud!  However, most of the time you'll find it's a combination of cinnamon, clove, anise, licorice root and ginger in varying portions.  Mine happens to have fennel in it as well.  It's a wonderfully aromatic blend so I wouldn't spend too much time worried about it.

Dice the onions into substantial chunks - no need for a super fine dice here, one inch chunks ought to do - set aside.  Smash the garlic using the side of a chef's knife or cleaver - smashing the cloves make it easy to pull the papery skin off.  Cut the short ribs into uniform pieces (figure one or two chunks per serving).

In the slow cooker/crock pot, combine 5 spice powder, beef broth, soy sauce, red wine, mirin, vinegar, and sesame oil.  I find that pouring the oil in last makes it easier to incorporate the 5 spice powder which tends to stubbornly float on top.  Stir to mix, and give it a little taste - it might seem a little on the salty side which is fine, but you want to make sure the cooking liquid tastes good from here - I found I added a bit of red wine to make the flavor a bit more robust here.  Add the onions and smashed garlic, and the rib meat.

Turn on the cooker and walk away - my slow cooker has three settings, low high and warm - I set it on high for about 3 hours (it's called a slow cooker for a reason).  At about two hours take a peek - you want to make sure the onions are taking on a translucent look to them - give everything a good stir and - if you're like me - now's a good time to poke it.  The rib meat needs to fall apart with a fork alone before it's ready.


Once the meat is falling apart soft, you're ready to serve - I found mine took about 3 and a half hours total, times will vary based on your cooker.

I'd suggest topping it with something green - thinly sliced scallions or chives - cilantro would also probably be good although not sure on that one as I'm one of those people that thinks it tastes a bit like soap.  This would be great served on top of a steaming hot bowl of ramen soup as well for those not carb conscious!!

As a treat thick slices of daikon added in the last hour would also be delicious, as would chunks of carrots or potatos (though less so for the last two in my opinion).

If you don't have a slow cooker, don't despair, you can make this on a stove top or in the oven;

I suggest you use a large pot like a cast iron dutch oven.  Doesn't have to be cast iron, but I like the way those pots disperse heat.  Make sure you have a lid for the pot and if you're putting the pot in the oven, make sure it's oven proof (no plastic handles etc.).

In Oven directions:
Set your oven to about 350, and for added flavor, pour a splash of oil in the pot first, drop in the garlic and do a quick sear of the short ribs in the pot before you add the braising liquid.  Pour in enough liquid to cover the ribs half way (not all the way), cover and pop the whole thing into the oven and let it cook checking periodically to see if you need to add liquid as it cooks off. You want to let it cook until the meat is falling away from the bone.

Stove top directions;
Pour a splash of oil in the pot first, drop in the garlic and do a quick sear of the short ribs in the pot before you add the braising liquid.  Add enough liquid to cover the ribs half way, and bring to a boil.  Turn the heat down to the low end of medium and let it simmer slow and low till the meat is fall off the bone tender.
(if you're using a gas oven eye ball it, it's more accurate than the dials, if you're using electric you'll need to pay a little more attention and possibly adjust the heat to get a simmer)


Enjoy!